

Blog
HOW TO DECORATE YOUR CHRISTMAS TREE
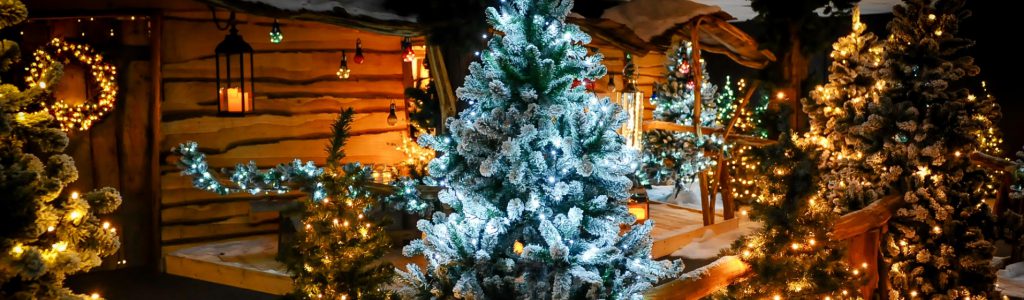
There is no denying that for most of us, the Christmas tree is the centre showcase of our festive celebrations. Many of us look in awe at the impeccably decorated trees which can be seen in shops, reception areas and on TV. These beautifully decorated trees don’t just happen by chance, they’re excellently crafted.
We strongly believe that decorating a tree is an art, so this guide has been designed to help you assemble that perfect tree which will help your friends and family be envious of your tree this year!
STEP 1: BUILD YOUR TREE
First things first, after you have purchased your real or artificial tree from Polhill or gotten your old artificial tree from out of the loft, you need to find the perfect place in your home for where you are going to assemble it. Once you have done so, you are good and ready to start the assembling process. To help you decide on what sort of tree would best suit your needs then check out this Blog here
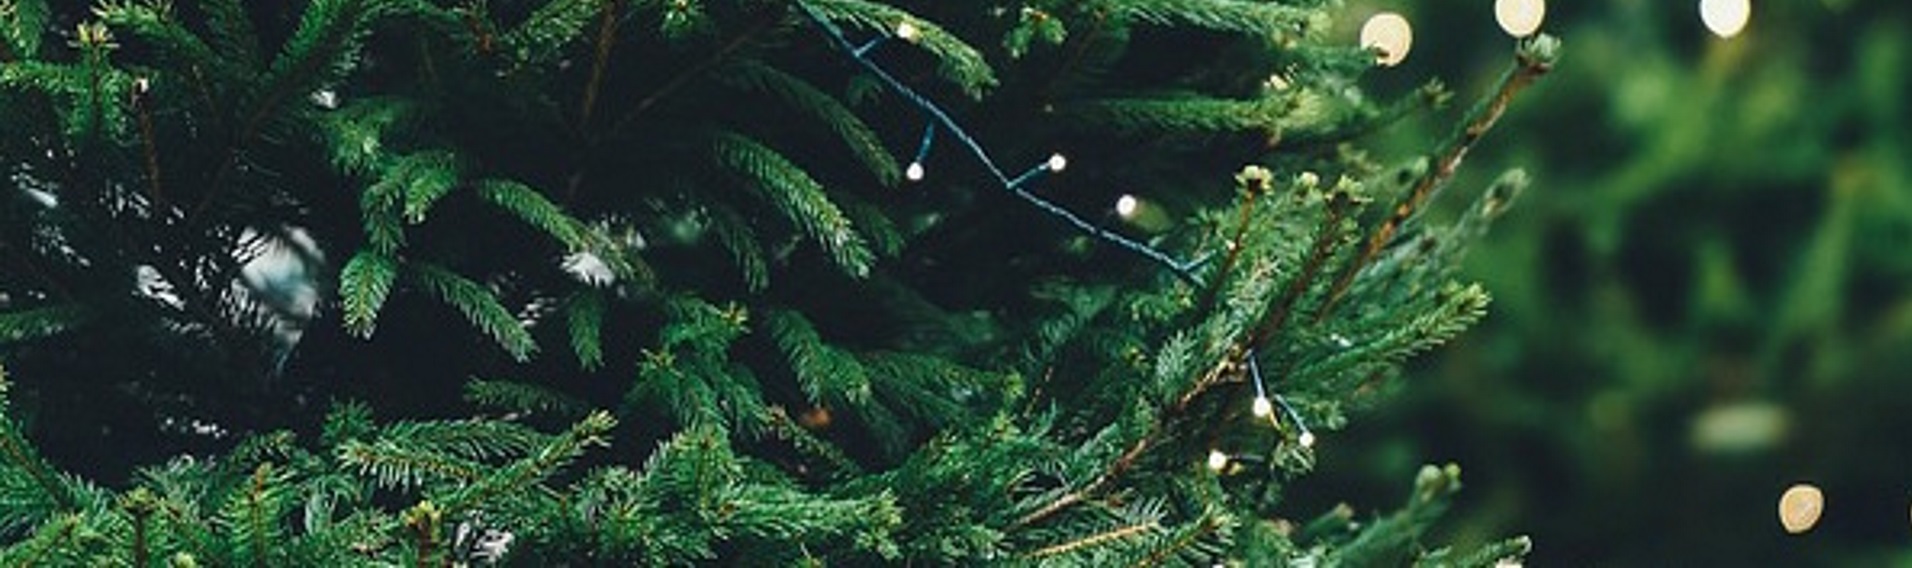
STEP 2: SPREAD OUT THE BRANCHES AND TIPS
This is a very important factor which sometimes goes under the radar. If you are a perfectionist, then this process can take a while and for good reason too. The branches create the canvas for your decorations, so they need to be spaced out perfectly.
The best tip is to start with the bottom layer of branches and work your way up, gently straightening each tip and fanning them out in differing directions to help give that most natural look. Take a step back, admire your work and make any amendments if the branches are not sitting correctly.
STEP 3: LIGHTS, LIGHTS, LIGHTS!
The more lights you have the better! As you can never have too many. Here at Polhill we have a wide selection of lights, some of which can be viewed here. Again, we recommend starting from the bottom and work your way up towards the top of the tree. The lights should sit close to the trunk compared to the decorations and this is what helps to emit that warm glow peering through the branches.
STEP 4: ADD YOUR ‘MAIN’ BAUBLES
These are your main colour baubles and the ones which are usually found in large sets so that you can build the foundation of your tree, creating the base for the rest of your Christmas decorations. To go for that classy and traditional look, it is best to use metallic or white tones which easily enable more daring colours to be implemented afterwards, making for a great contrast.
STEP 5: SPLASH THAT COLOUR!

This is the perfect opportunity to add other festive colours throughout your tree. Vibrant and subtle tones all work perfectly, so the choice is totally to your personal preference. Important: make sure to layer the colours evenly throughout the branches so that you do not have too many of the same colour in one area!
Garlands & florals also look fantastic in trees and work exceptionally well as gap fillers, helping to give your tree that completed look. They come in a variety of colours and designs and we have plenty concepts available in store.
STEP 6: PLACE THOSE FINISHING TOUCHES AND DON’T FORGET THE STAR!

Now it’s time to add those decorations that will really set your tree apart from the others. We find that decorative Santas are a great way to help set off your tree, as can be seen from the image above.
Don’t forget to add the real showstopper, that element which will complete your tree, the star at the top! However, adding an angel instead or a large bold decoration for a contemporary twist are also ever popular ideas too.
For any inspirations or ideas, why don’t you come to visit our Christmas Department here at Polhill where you will find a selection of decorated trees which just simply want to be seen and replicated in your home!


Leave a reply
You must be logged in to post a comment.